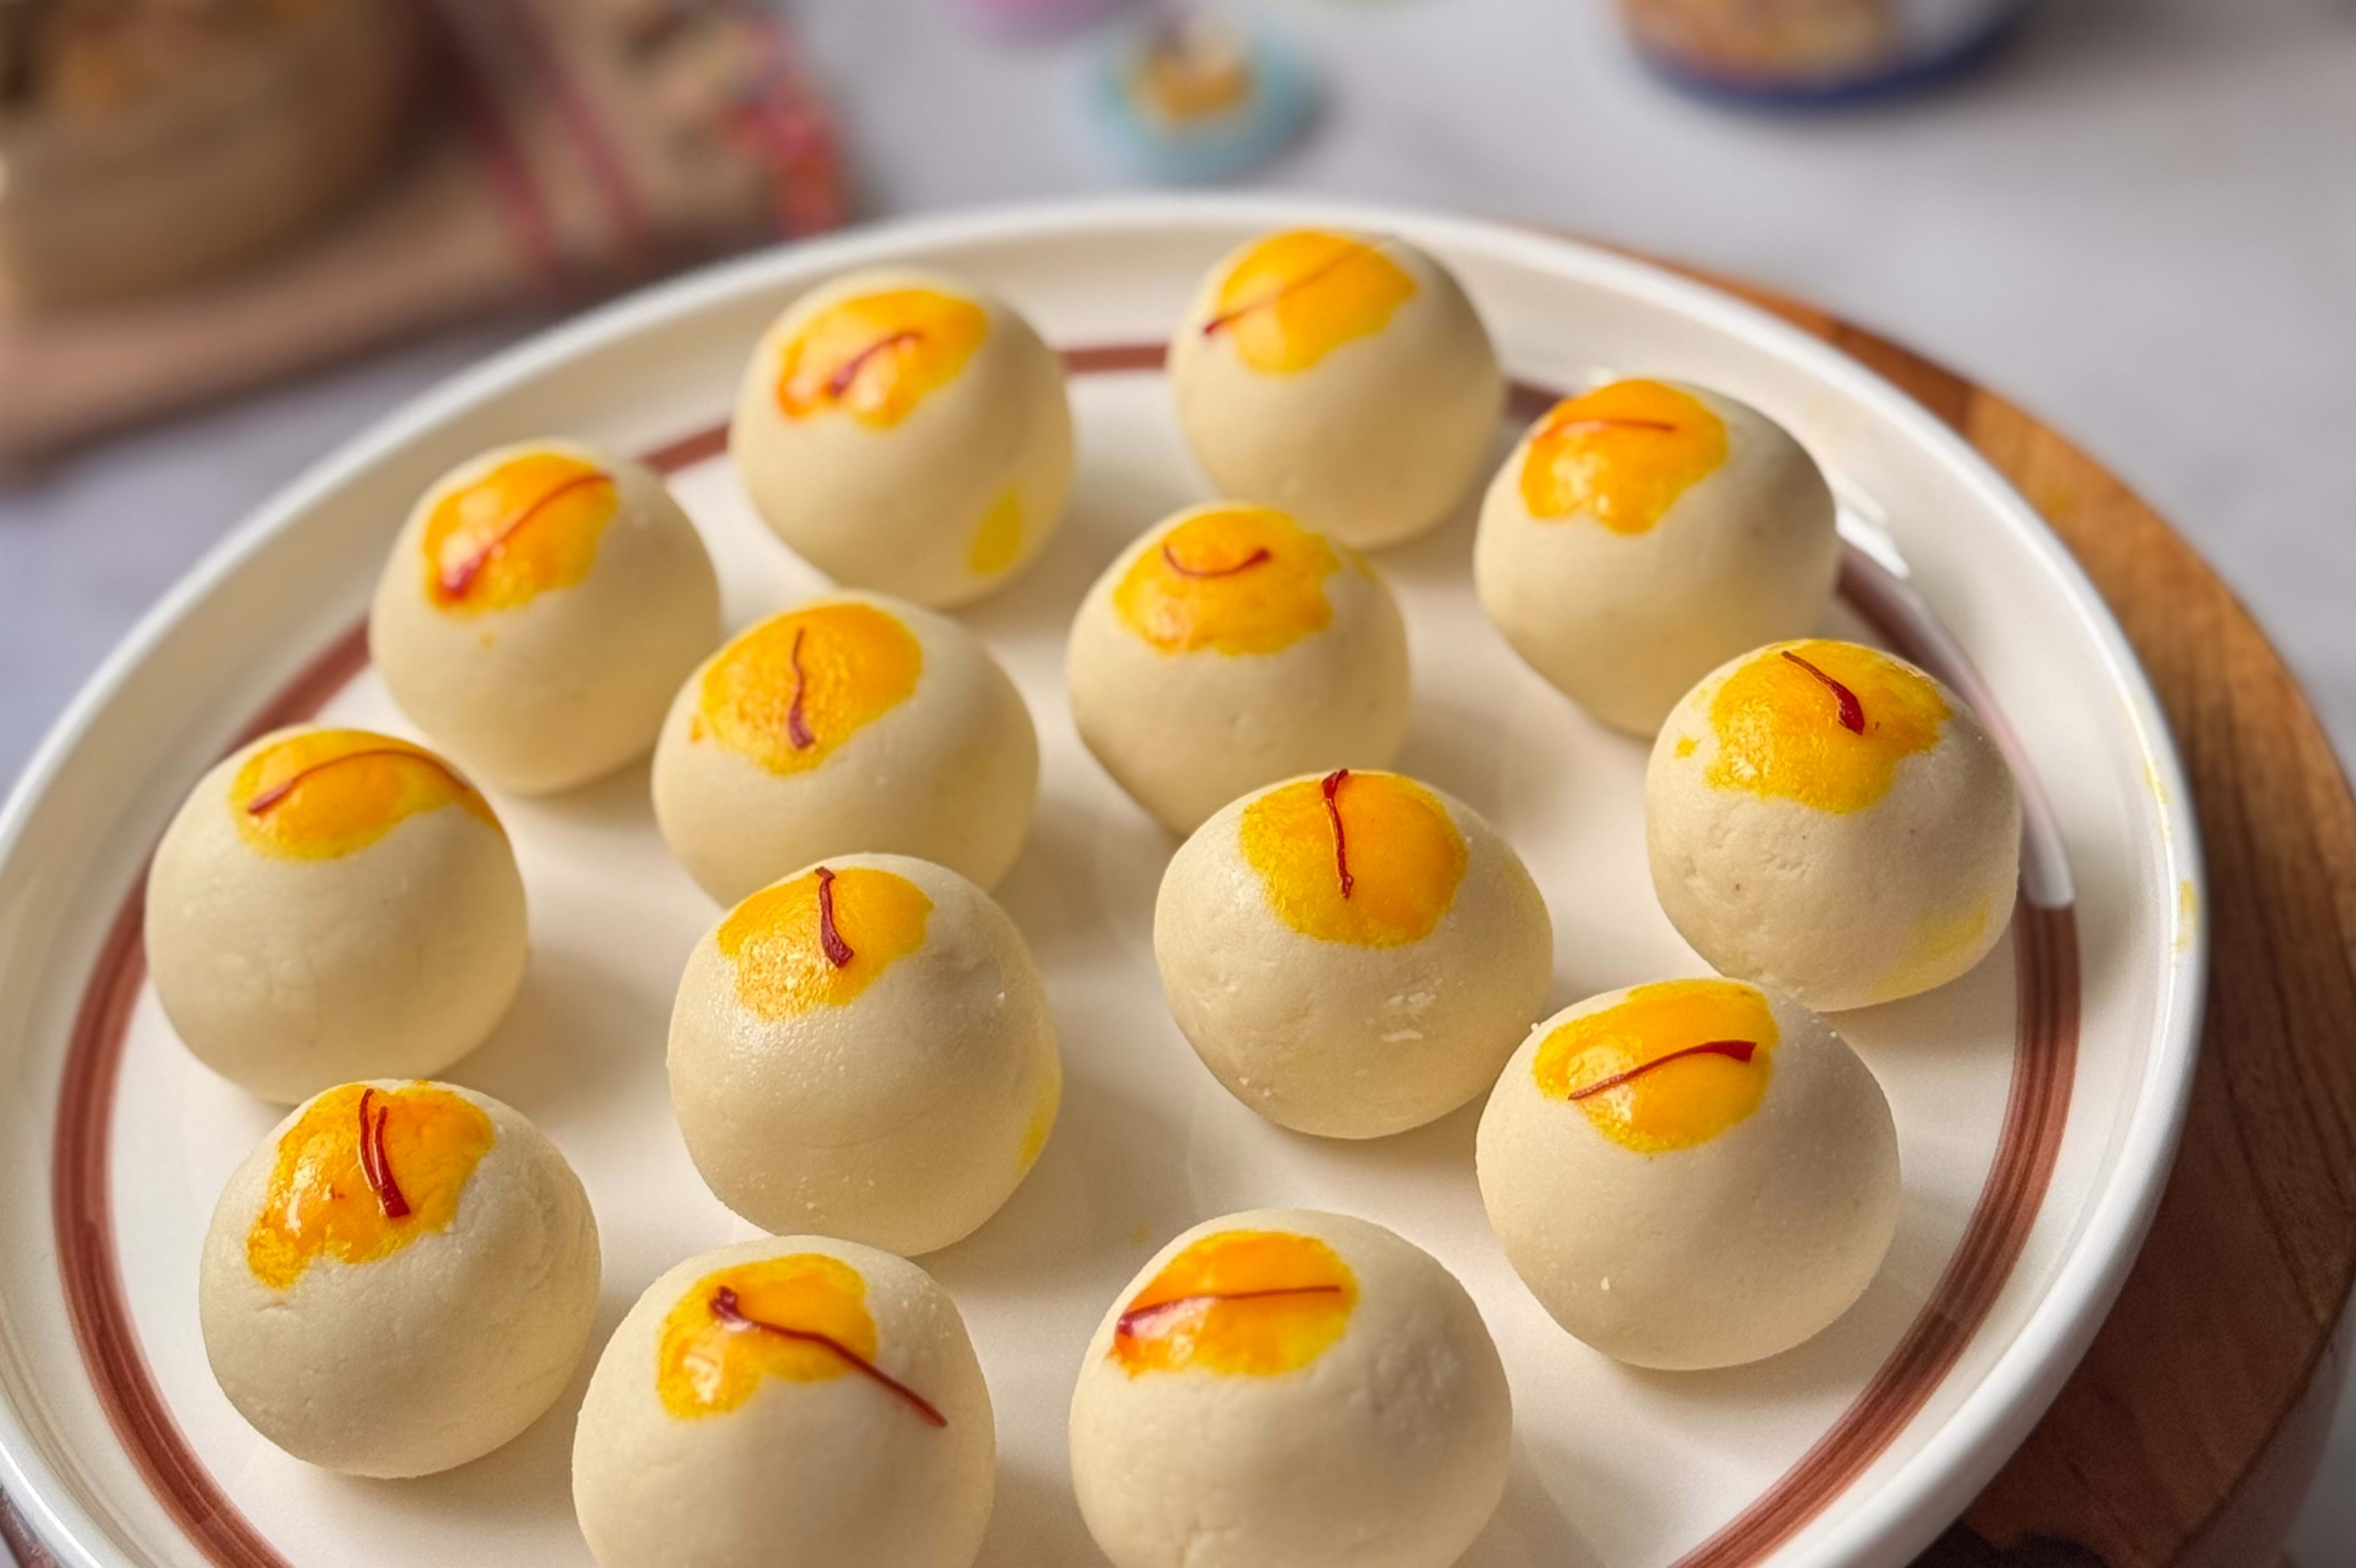
Quick Malai Sandesh
Soft, saffron-kissed sweets you can make before the chai goes cold
foodiegujarati.com/recipes/quick-malai-sandesh
You boil the milk. You add the vinegar. The moment the whey separates and that fresh paneer pulls away from the liquid, you already know exactly where this is going. Malai Sandesh is one of those sweets that comes together so fast it almost feels like you cheated — soft, milky, barely sweet, with a thread of kesar (saffron) pressed gently into each ball.
Sandesh is a classic Bengali and Eastern Indian mithai that has long found its way into Gujarati homes and sweet shops. Made from fresh chenna (homemade paneer), it is the sweet you bring when you want to impress without spending the whole afternoon in the kitchen. In Gujarat, it appears during festivals, puja prasad trays, and every time someone drops in unexpectedly and deserves something better than biscuits. The condensed milk in this version keeps it creamy and fuss-free, with no sugar-syrup stage to worry about.
This quick malai sandesh recipe skips nothing important but cuts every unnecessary step. The milk powder adds a rich malai-like depth that takes the flavour from good to genuinely indulgent. If you have one litre of milk and twenty-five minutes, you have everything you need. Make it today.
Why You'll Love This
Ready in 25 Minutes
From cold milk to finished sandesh in under half an hour, with no sugar syrup, no moulds, and no complicated technique. This saves at least 40 minutes compared to traditional syrup-based mithai recipes.
No Store Paneer
The paneer is made fresh right in the recipe, so you control the texture and moisture from the start. Fresh chenna produces a softer, creamier sandesh that store-bought paneer simply cannot replicate.
Kesar Garnish
A single thread of kesar (saffron) on each ball lifts the presentation instantly, making these look far more special than the effort involved. It also adds a subtle floral aroma that makes every bite feel festive.
Khushi's Pro Tip
After cooking the chenna mixture in the pan, let it cool completely before rolling. I learned this the hard way — warm chenna is sticky and cracks at the edges. Give it at least 10 minutes of rest. The cooling firms the mixture just enough that the balls hold their shape cleanly and the kesar thread sits on top instead of sinking in.
Star Cast
Key Ingredients
Milk
Full-fat whole milk is non-negotiable here — it gives you enough fat in the chenna to produce a smooth, creamy sandesh. Toned or skimmed milk yields a grainy, dry chenna that will not bind properly into balls. Use the freshest milk you have for the cleanest flavour.
Condensed Milk Sweet
This does the job of both sugar and cream in one ingredient, sweetening the sandesh while keeping it soft and slightly fudgy. The fat content in condensed milk also helps bind the chenna without making it heavy. If you prefer less sweetness, start with ¼ cup and taste before adding more.
Milk Powder
Milk powder adds a concentrated dairy richness that mimics the malai layer you would get from long-simmered milk, without the extra cooking time. It also helps absorb any excess moisture in the chenna, giving the sandesh a clean, shapeable texture. Skipping it makes the mixture looser and the flavour noticeably flatter.
Kesar (Saffron) Threads
Even a single strand of kesar per sandesh ball adds colour, fragrance, and a visual finish that signals this is a proper mithai and not just a quick sweet. Quality matters — good saffron blooms with colour immediately on contact with the warm sandesh. A poor substitute is a tiny pinch of saffron-infused warm milk brushed on top.
Cook Along
Ingredients
For the Fresh Chenna (Homemade Paneer)
- 1 litreFull-fat whole milk
- ¼ cupWhite vinegar(plain distilled vinegar works best — avoid malt or apple cider vinegar)
For the Sandesh Mixture
- 1 tspGhee
- ¼ cupMilk powder(full-fat milk powder preferred)
- ½ cupCondensed milk sweet(sweetened condensed milk — adjust to your taste)
- 1 tspCardamom powder(freshly ground for best fragrance)
For the Garnish
- Kesar (saffron) threads(one thread per sandesh ball — do not skip, it is the signature finish)
Instructions
Tap a step number to mark it done as you cook.
Heat the Milk — Getting It Ready to Curdle
- Pour 1 litre of full-fat milk into a heavy-bottomed pan and place it on medium heat.
- Stir the milk gently and continuously as it heats to prevent a skin forming on the surface. You want the milk hot and just beginning to steam before you add the vinegar — do not let it reach a full rolling boil.
Curdling the Milk — Making Fresh Chenna
- Reduce the flame to low and slowly pour in ¼ cup of white vinegar while stirring continuously. You will see the milk begin to curdle almost immediately — the solids (chenna) will separate from the greenish-yellow whey within 30 to 60 seconds.
- Once the whey looks completely clear and the solids have fully separated, turn off the flame. Do not cook any further — overcooking the chenna makes it rubbery and dry.
- Line a strainer with a clean muslin cloth or a thin cotton kitchen towel. Pour the curdled milk through it, then gently rinse the chenna under cold water for 10 seconds to wash off the vinegar taste.
- Gather the cloth, squeeze gently, and hang it for 10 minutes to drain excess moisture. You want the chenna moist but not wet — it should hold together when pressed.
Cooking the Sandesh Mixture — Building the Flavour
- Place a wide non-stick pan on low heat and add 1 tsp ghee. Let it melt and coat the base of the pan.
- Add the drained chenna to the pan. Break it up gently with a spatula and cook on low heat for 2 minutes, stirring constantly, until it starts to look smooth and slightly dry.
- Add ¼ cup milk powder and ½ cup condensed milk sweet. Stir everything together well on low heat so no lumps remain.
Bringing It Together — The Mixture Should Pull Away
- Continue stirring the mixture on low heat for 5 to 7 minutes. You will know it is ready when it starts to leave the sides of the pan and comes together into a soft dough-like mass that does not stick to the spatula.
- Add 1 tsp cardamom powder, mix it in thoroughly, and switch off the flame. The mixture should feel like soft dough — not liquid, not dry.
Rest the Mixture — The Step That Makes Rolling Easy
- Transfer the mixture to a clean plate and spread it out slightly. Let it cool completely at room temperature for at least 10 minutes. Do not rush this step — warm mixture sticks to your hands and cracks when you roll it.
- Once cooled, the mixture should feel firm enough to hold a shape when pressed between your palms.
Rolling and Finishing — Kesar on Top
- Divide the mixture into 10 equal portions. Roll each portion between your palms into a smooth ball, pressing gently and evenly.
- Press one kesar (saffron) thread carefully onto the top of each sandesh ball. Press just lightly enough for it to sit flat and visible without sinking in.
- Arrange the finished sandesh on a serving plate. They are ready to eat immediately at room temperature, or refrigerate for 30 minutes for a firmer, chilled texture.
Pairs Perfectly With
Storage & Make-Ahead
Malai Sandesh stays fresh at room temperature for up to 4 hours in a cool kitchen. Refrigerate in an airtight container for up to 3 days — the texture firms slightly when chilled, which many people actually prefer. These can be frozen for up to 1 month. Thaw overnight in the refrigerator and bring to room temperature before serving.
Try These Too
Rose and Pistachio Sandesh
Replace the cardamom powder with 1 tsp rose water and press a thin sliver of pistachio onto each ball instead of the kesar thread. The floral note from the rose water pairs beautifully with the creamy chenna base and makes this variation feel extra festive for Diwali gifting.
Chocolate Malai Sandesh
Add 1 tbsp unsweetened cocoa powder along with the milk powder and condensed milk, and mix until the colour is even and rich. Roll into balls as usual and dust lightly with cocoa before serving — this is the variation that disappears fastest when kids are around.
Chilled Sandesh with Mango Pulp
During mango season, stir 2 tbsp thick Alphonso mango pulp into the cooked mixture just before taking it off the flame and skip the cardamom. Chill the finished balls for at least an hour before serving — the mango flavour intensifies as it sets cold.
Affiliate
Shop the Recipe

Milk Powder
Full-fat milk powder adds concentrated dairy richness to the sandesh mixture and absorbs excess moisture from the chenna for a clean, shapeable texture.
Buy on Amazon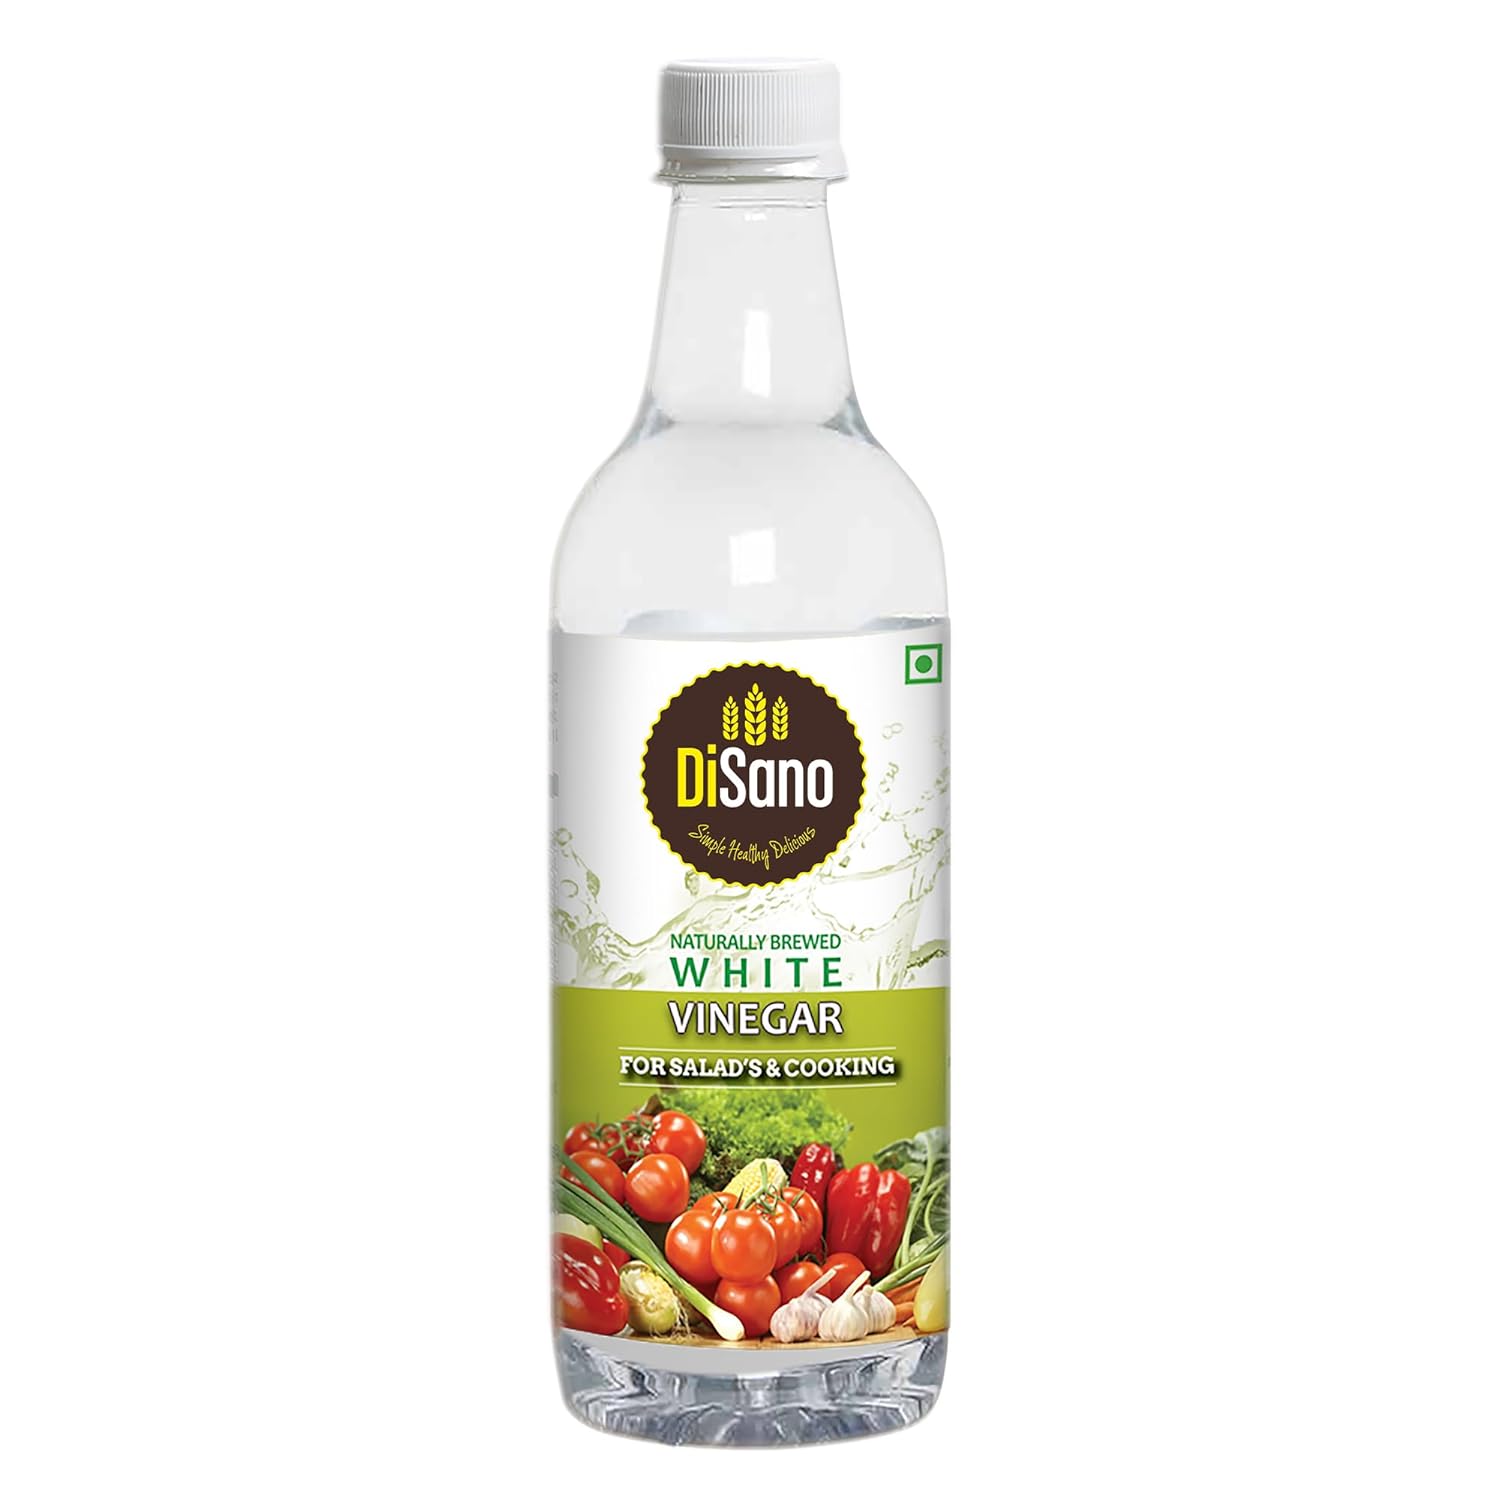
Vinegar
Plain white distilled vinegar curdles the milk evenly and rinses off cleanly, leaving no aftertaste in the finished sandesh.
Buy on Amazon
Condensed Milk
Sweetened condensed milk sweetens and binds the chenna in one step, removing the need for a separate sugar syrup entirely.
Buy on Amazon* Some links are affiliate links. Clicking and purchasing may earn a small commission at no extra cost to you.
Frequently Asked Questions
Enjoyed this recipe?
Rate this recipe
Similar Posts


Never Miss a Recipe
From Khushi's Kitchen
to your inbox
New recipes, seasonal specials, and kitchen stories — no spam, ever.
No spam. Unsubscribe anytime.