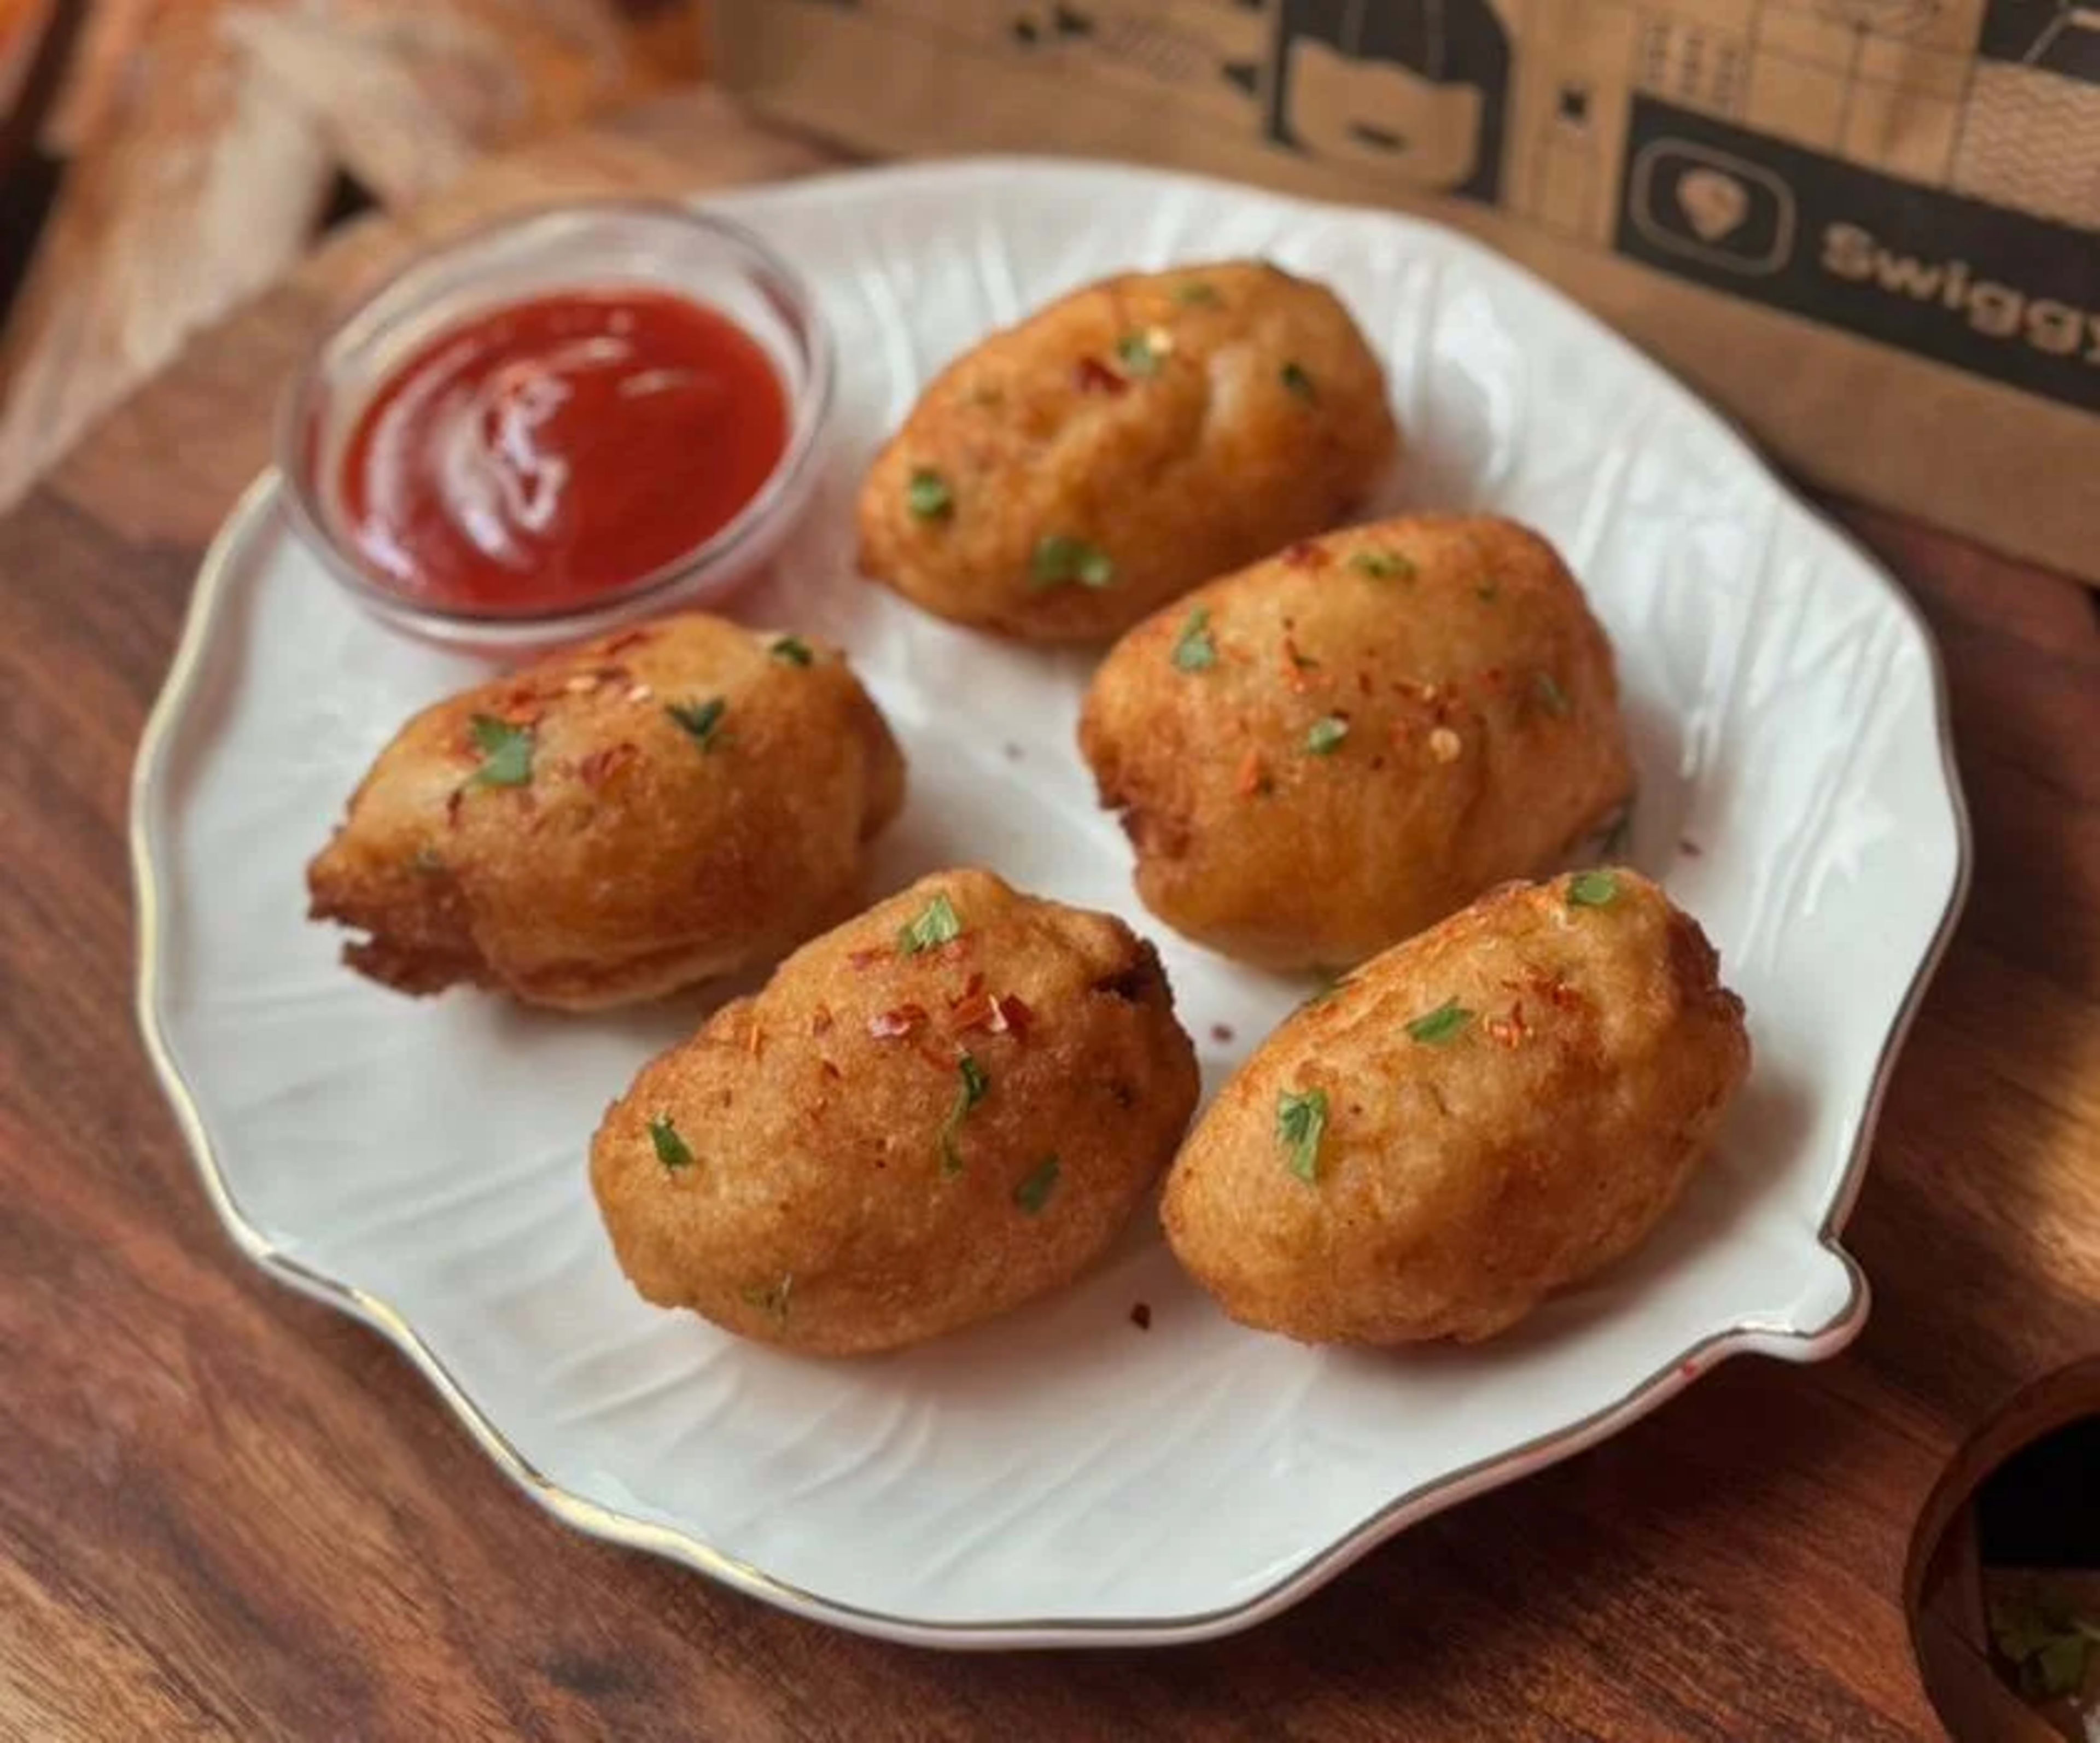
There is a specific kind of hunger that hits at 5pm. Dinner is still far away, chai is already brewed, and something crispy, cheesy, and just a little spicy is the only answer. That is exactly where this cheesy chatpata bread roll recipe lives. One bite and the outside shatters, the inside stretches into molten, spiced paneer and cheese, and suddenly everything in the world is okay again.
This recipe is pure Indian jugaad genius. It takes the humble sandwich bread that every home in India has sitting on the counter and transforms it into something that looks and tastes like it came from a bustling Ahmedabad café. These rolls sit beautifully at that intersection of Western café snack and desi street food. Capsicum, corn, paneer, coriander, chilli flakes and cheese all packed into a crisp golden shell. It is the kind of snack that college canteens and small tiffin counters have been serving for years, and for very good reason.
What makes this version different is the technique. The water-dip-and-squeeze method gives the bread just enough moisture to mould without falling apart, and sealing every crack means the cheesy filling stays locked inside during frying. No special equipment, no tricky dough, no hours of waiting. Just 25 minutes between you and a plate of these. Make them today.
Why You'll Love This
No Dough Needed
Regular sandwich bread replaces any need for maida dough, saving you at least 40 minutes of kneading and resting time. You can go from craving to crunching in under 30 minutes, start to finish.
Molten Cheesy Core
The combination of paneer, grated cheese, and mayonnaise creates a filling that melts together into creamy, stretchy goodness the moment you bite in. It stays soft and gooey on the inside even as the outside turns shatteringly crisp.
Kids Absolutely Love It
The mild spice level, cheesy filling, and fun cylindrical shape make these a guaranteed hit with children, and you can customise the chilli flakes to control heat. These work brilliantly as an after-school snack or a lunchbox treat.
Khushi's Pro Tip
The single mistake that ruins these rolls is skipping the squeeze step. I learned this the hard way after multiple soggy disasters. After dipping the bread in water, press it hard between both palms until you feel no more moisture coming out. Dry bread moulds perfectly and fries crisp. Wet bread turns oily and soft.
Star Cast
Key Ingredients
Paneer
Paneer is the soul of the filling here. It provides a firm, protein-rich base that holds its shape inside the roll without turning mushy during frying. Skip it and the filling becomes too wet and formless. If paneer is unavailable, firm tofu pressed dry is the closest substitute, though the taste will be milder.
Cheese
Cheese is what gives this snack its café-style appeal. It melts during frying and binds everything in the filling into one cohesive, stretchy, molten mass. Amul processed cheese cubes or grated mozzarella both work brilliantly. Do not skip or reduce it, because without cheese the filling is just a dry vegetable mix.
Bread
Large sandwich bread slices are essential for this recipe. Thick slices give you enough surface area to wrap the filling fully without tearing. Fresh bread works best because it absorbs just the right amount of water and moulds easily. Avoid thin bread or brown multigrain loaves, as they crack when you squeeze and roll them.
Mayonnaise
Just one tablespoon of mayonnaise acts as the glue that binds the entire filling together. It coats every vegetable and paneer cube so nothing falls apart when you stuff and roll the bread. Do not add more than suggested since too much mayo makes the filling slippery and the roll will burst open in the oil. If you prefer no mayo, a thick hung curd works as a substitute.
Cook Along
Ingredients
The Chatpata Cheesy Filling
- 1 cupPaneer(cut into small cubes)
- ½ cupCapsicum(finely chopped)
- ⅓ cupBoiled Corn
- ¼ cupCarrot(finely chopped)
- 1 smallTomato(optional, deseeded and chopped)
- ½ cupCheese(grated or cut into small cubes)
- 1 tbspMayonnaise
- 2 tbspFresh Coriander(chopped)
- 1 tspChilli Flakes
- 1 tspOregano
- 1 tspSalt(taste before adding, cheese and mayo already have salt)
The Bread Shell
- 8 slicesBread(large sandwich bread, fresh)
- 1 cupWater(for dipping the bread)
For Frying
- ½ literOil(any neutral frying oil, for deep frying)
Instructions
Tap a step number to mark it done as you cook.
Building the Vegetable Base
- In a large mixing bowl, add the paneer cubes, finely chopped capsicum, boiled corn, and chopped carrot.
- If using tomato, make sure it is deseeded before adding it so the filling does not get watery.
- Keep all the vegetables chopped very small, smaller than you think is necessary. Large pieces will poke through the bread while rolling and create cracks that let the cheese escape during frying.
Making the Creamy Chatpata Filling
- Add the grated cheese and mayonnaise to the vegetable bowl.
- Sprinkle in the chilli flakes, oregano, and fresh coriander.
- Add salt carefully. Taste the mix before seasoning because both cheese and mayonnaise carry their own salt, and over-seasoning is the most common mistake here.
- Stir everything together thoroughly until the mayonnaise coats every piece and the filling comes together as a compact, slightly sticky mix that holds when pressed.
The Trim and Water Dip Technique
- Take one bread slice and trim off all four brown crusts using a sharp knife. The soft white bread is what you need.
- Hold the trimmed bread and dip it in the bowl of water for exactly 1 second. No longer.
- Immediately take it out and press it firmly between both palms, squeezing out every drop of excess water. Press hard. The bread should feel dry to the touch and pliable, not wet or soggy. This step is everything.
Stuff, Roll, and Seal
- Lay the squeezed bread flat on your palm and place a heaped spoonful of cheesy filling right in the centre.
- Bring all the edges of the bread up and around the filling, pressing them together firmly to enclose it completely.
- Now roll it between both palms in a gentle but firm back-and-forth motion to shape it into a smooth cylinder or oval.
- Check the entire surface carefully for any cracks or thin spots. If you see any, pinch and press them closed with your fingers. A sealed roll means the cheese stays inside. Repeat with all remaining slices.
The Golden Fry
- Pour the oil into a heavy-bottomed kadhai and heat it on medium-high flame for about 3 to 4 minutes.
- Test the oil temperature by dropping in a tiny pinch of bread. If it sizzles immediately and floats to the top within 2 seconds, the oil is ready. If it sinks and sits there slowly, the oil is too cold and your rolls will absorb oil like a sponge.
- Gently slide the prepared rolls into the hot oil, no more than 3 or 4 at a time. Overcrowding drops the oil temperature and leads to pale, greasy rolls instead of crispy golden ones.
- Fry on medium-high heat, turning them gently every 30 to 40 seconds, until they are a deep, even golden brown all over. This takes about 3 to 4 minutes per batch.
- Lift them out using a slotted spoon and place them on a plate lined with tissue paper to drain the excess oil.
Serve Hot and Crunchy
- Serve the rolls immediately while the outside is still shatteringly crisp and the inside is molten and cheesy.
- Pair them with spicy green coriander chutney, tomato ketchup, or Kissan sweet jam if you love that café-style sweet-meets-savoury combination.
- These rolls do not wait well, so call everyone to the table before you start frying.
Pairs Perfectly With
Storage & Make-Ahead
These rolls are best eaten fresh out of the oil. If you have leftovers, store them uncovered at room temperature for up to 4 hours. Refrigerate in an airtight container for up to 1 day. Reheat in an air fryer at 180°C for 5 minutes or in a dry pan on medium heat to bring back the crispiness. Do not microwave as they turn rubbery.
Try These Too
Extra Spicy Desi Version
Replace the oregano and chilli flakes with ½ tsp chaat masala, ¼ tsp garam masala, and 1 finely chopped green chilli for a fully Indian flavour profile. This version pairs beautifully with tamarind chutney and tastes like something from a Mumbai dabeli stall.
Baked or Air Fryer Method
Brush the prepared rolls generously with oil on all sides and either bake at 200°C for 18 to 20 minutes, flipping once halfway, or air fry at 190°C for 12 minutes, flipping at the 6-minute mark. The result is slightly less shatteringly crisp than deep frying but still golden and delicious with far less oil.
Corn and Cheese Only Version (for Kids)
Reduce the filling to just boiled corn, grated cheese, a pinch of mixed herbs, and a tiny amount of butter in place of mayonnaise for a milder, child-friendly version. Skip the chilli flakes entirely and the result is a soft, sweet, cheesy roll that even picky eaters will reach for.
Affiliate
Shop the Recipe

Triply SS Kadai
Crafted for superior heat distribution, ensuring consistent and efficient cooking
Buy on Amazon
Bento-Style Lunchbox
Perfect for packing Dhokla + Chutney + Fruit in separate compartments.
Buy on Amazon
Deep Frying Skimmer
Essential for safely removing the rolls from hot oil without splashing.
Buy on Amazon* Some links are affiliate links. Clicking and purchasing may earn a small commission at no extra cost to you.
Frequently Asked Questions
Similar Posts

